Go Live
Once you've completed certification testing, you're ready to deploy your integration to production.
Before You Begin
Complete these prerequisites before configuring your terminal for production:
- Complete certification testing.
- Contact your integration manager (for initial integrations) or technical support to confirm successful test results.
- Ensure you have received your production credentials from the Paynt technical support team.
If you are responsible for terminal setup according to your agreement with Paynt, you will configure the terminal yourself using the Terminal Management System (TMS). Otherwise, contact Paynt's technical support team at [email protected] or [email protected] for initial integrations.
TMS Configuration
Use the Terminal Management System (TMS) to install and configure the Paynt POS payment application. The steps below guide you through adding a terminal, pushing the app, and configuring it with your production or sandbox parameters.
Step 1: Add Terminal
Start by registering your terminal in the TMS. This links the physical device to your merchant account.
- Click + Terminal to begin adding a terminal for the merchant.
- Complete all fields in the pop-up window:
Terminal Information:
| Field | Description |
|---|---|
| Terminal Name | Enter the merchant's descriptor (e.g., "The Swan"). For multiple terminals, add a unique number to each (e.g., The Swan 1, The Swan 2). |
| Activate Terminal | Choose Activate immediately. |
| Manufacturer | Select PAX. |
| Terminal Type/Model | Select the terminal model (e.g., A920, S300). |
| Merchant | This should auto-populate with the merchant you previously created. |

Device Information:
| Field | Description |
|---|---|
| Serial Number | Enter the terminal's serial number (found on the back of the device or on the box). |
| TID | Select a TID from the credentials email (subject: "<merchant name> POS Account credentials"). Each TID must be unique—do not reuse TIDs across terminals. |
Step 2: Submit the Information
Verify your entries before saving. Incorrect details may cause activation issues.
- Review all details for accuracy.
- Click OK to finalize.
The terminal will appear under the merchant in the Terminal Management section.
Step 3: Push the Paynt POS App
Install the Paynt POS application on your terminal. This deploys the payment app to the device.
- Click Push app.
- Select Paynt POS from the pop-up menu.
- Click OK.

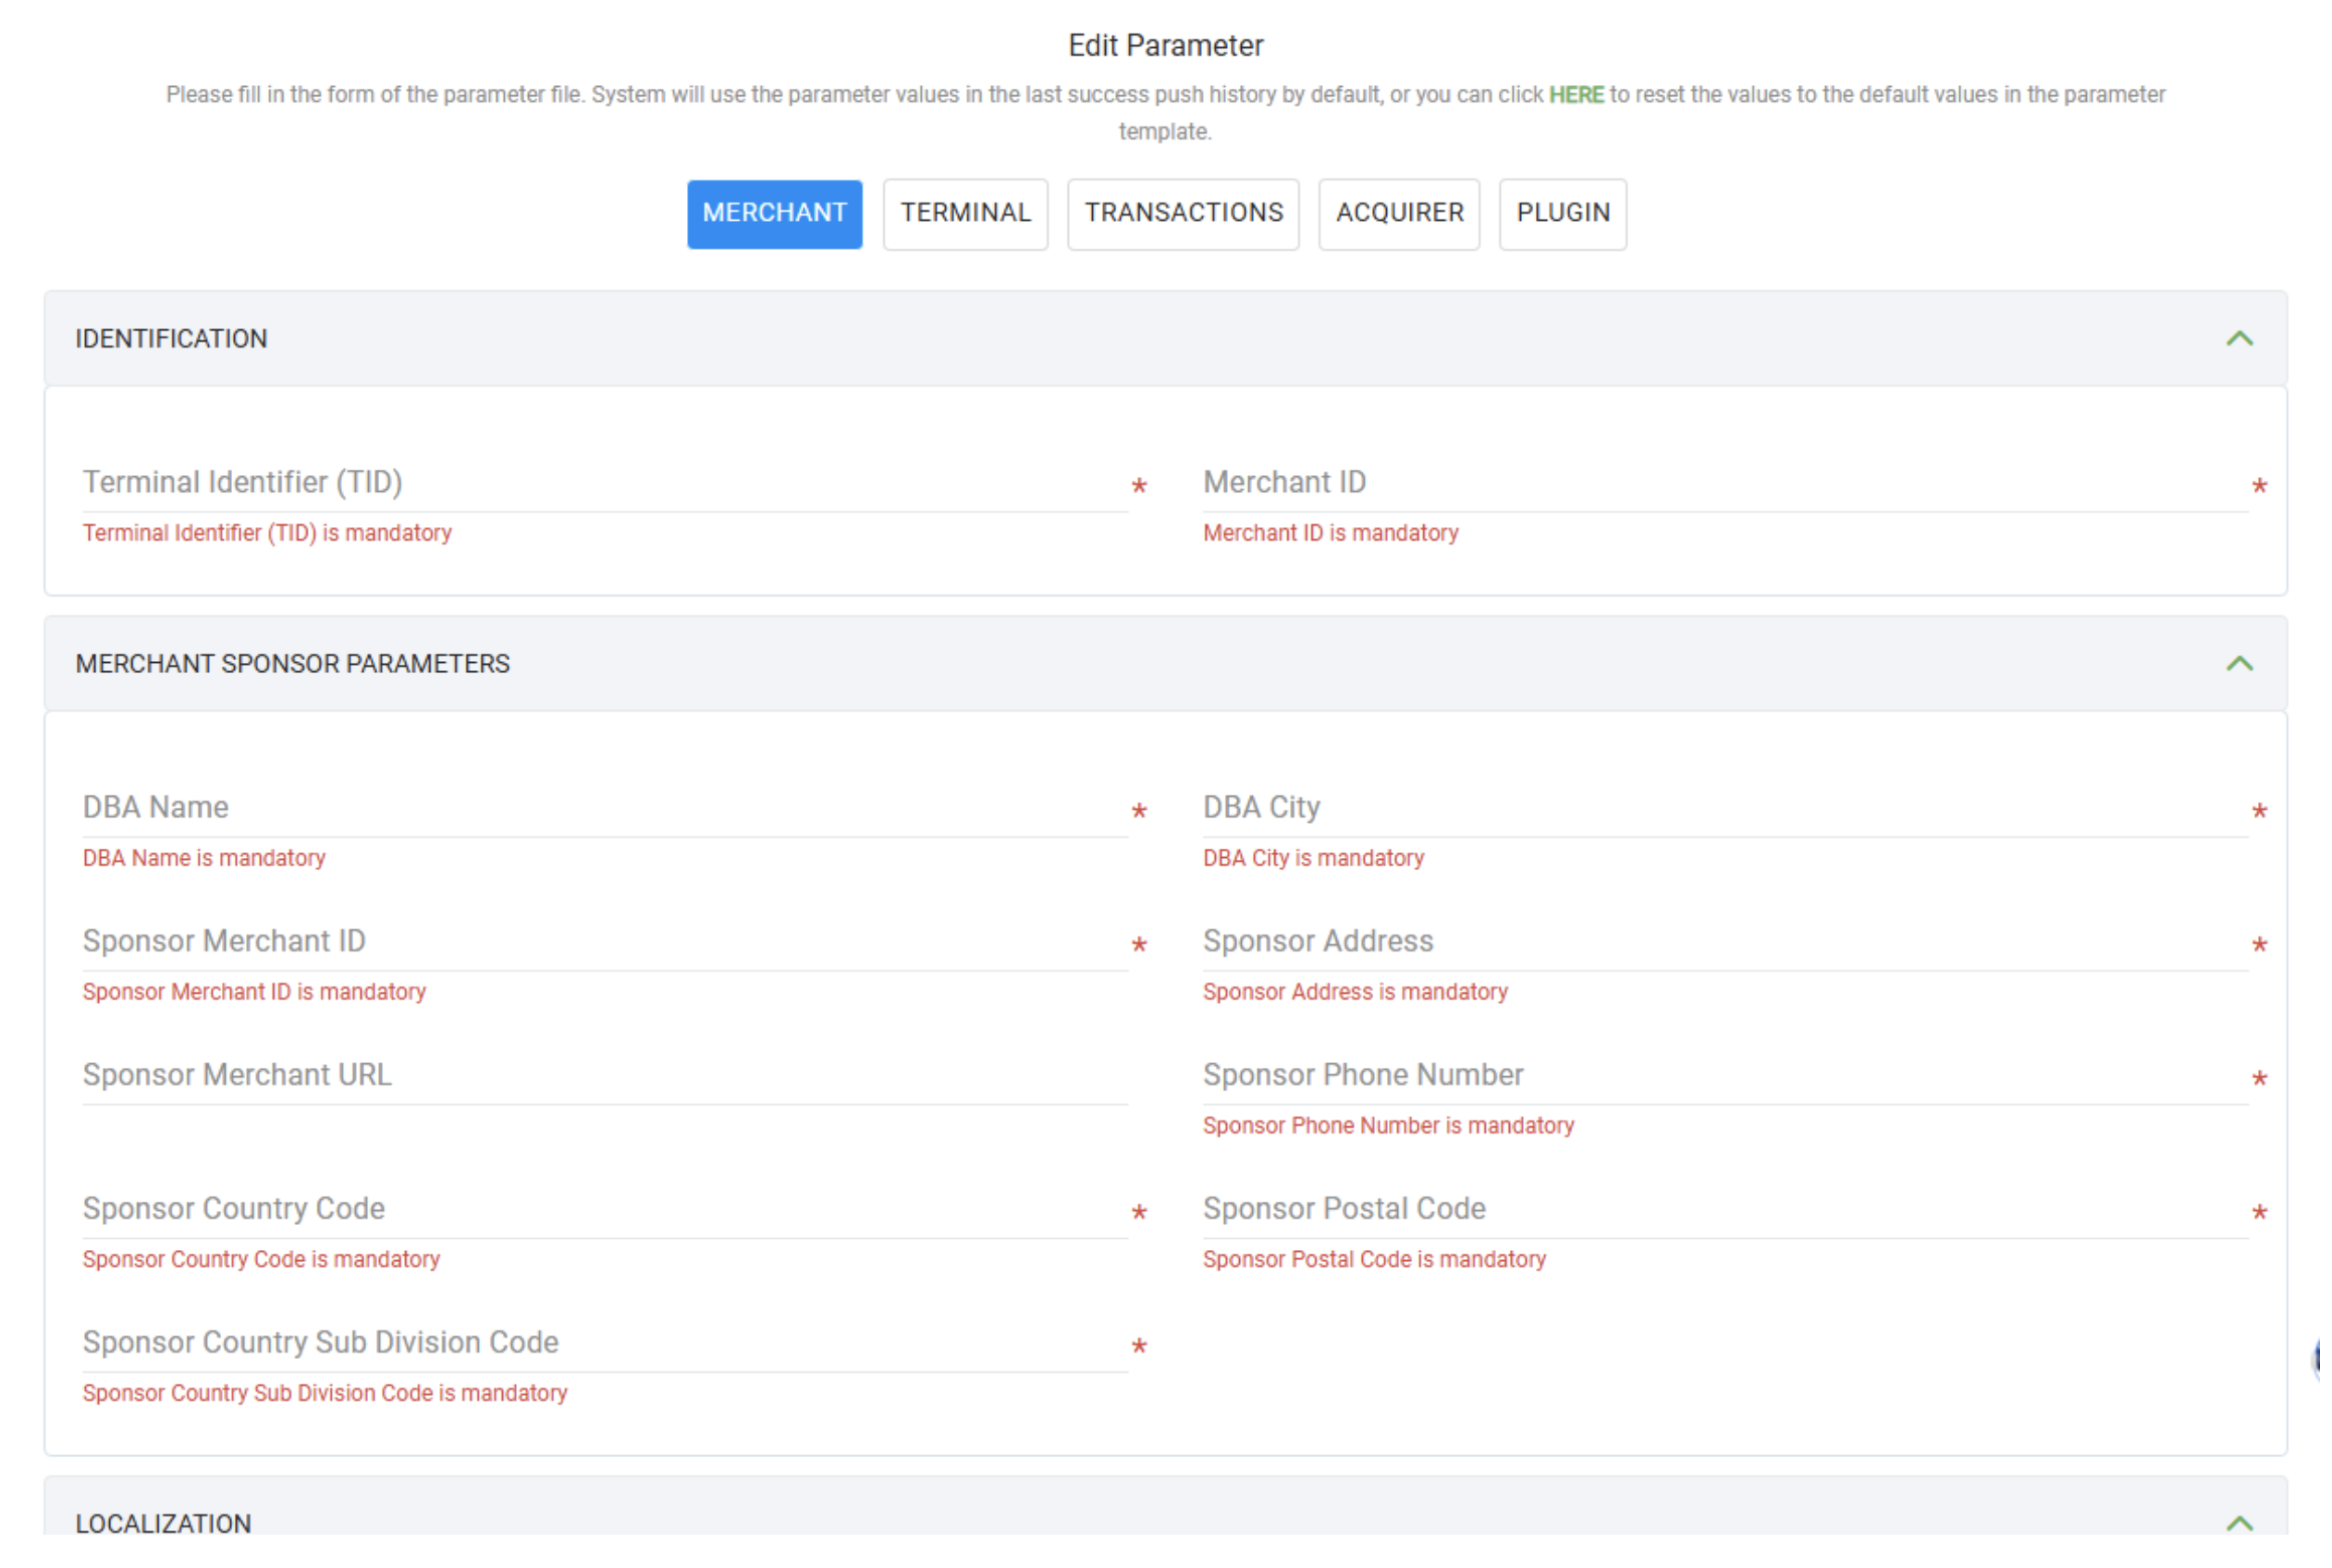
Step 4: Configure Merchant Parameters
Enter your merchant credentials to link the terminal to your payment processing account. These details were provided by Paynt in your credentials email.
- TID
- MID
- DBA Name
- DBA City
- Sponsor Merchant ID
- Sponsor Address
- Sponsor Phone Number
- Sponsor Country Code
- Sponsor Postal Code
- Sponsor Country Subdivision Code
Step 5: Configure Localization
Set regional preferences to ensure the terminal displays the correct currency, language, and formatting for your location.
Scroll down to the Localization section and set:
- Currency
- Country code
- Application language
- Receipt language

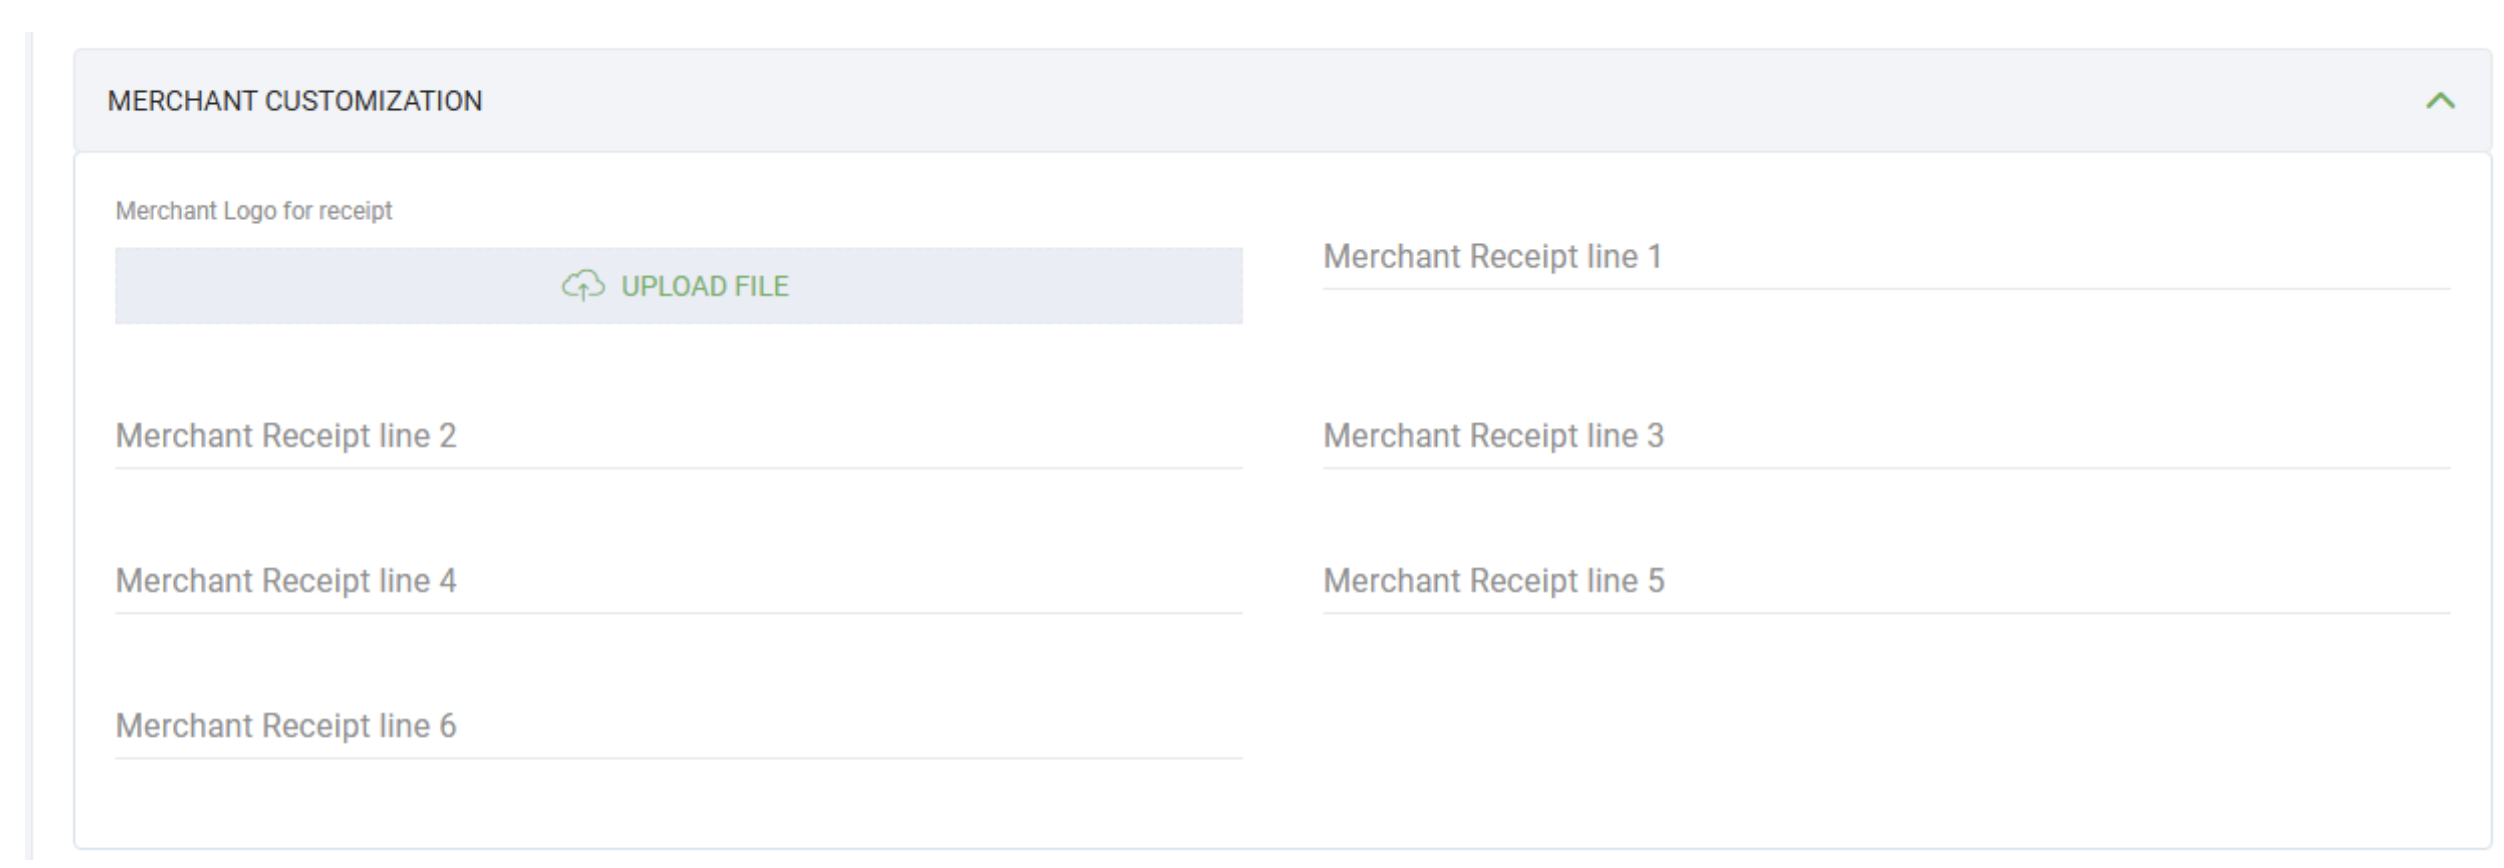
Step 6: Customize Receipts (Optional)
Add your branding to customer receipts. This step is optional but recommended for a professional appearance.
In the Merchant Customization section, you can configure:
- Receipt logo
- Merchant receipt lines (text at the top of the receipt)
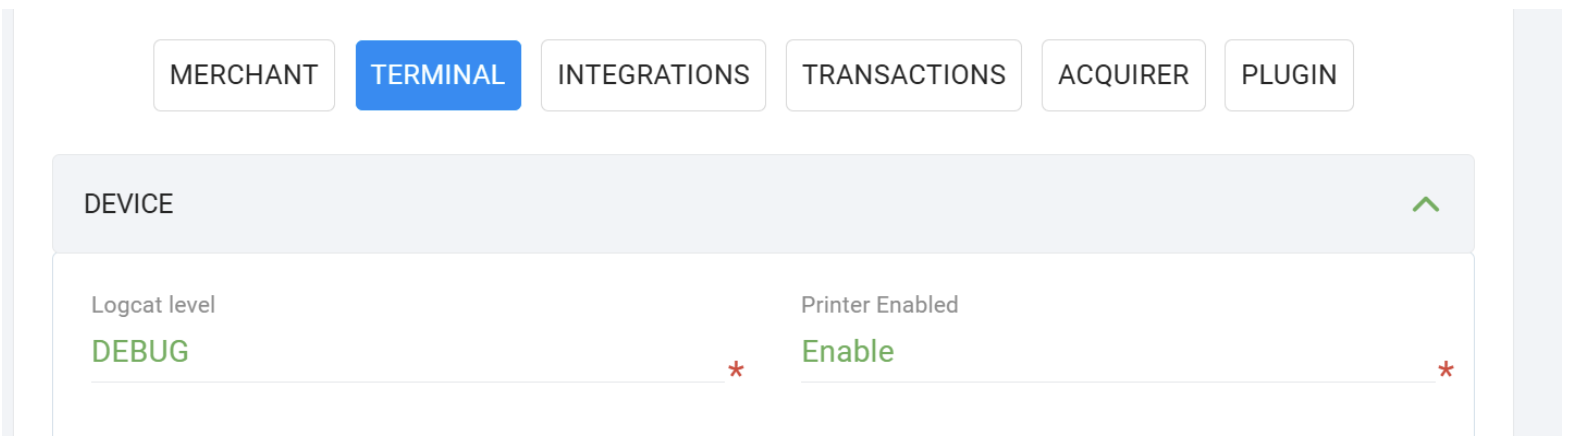
Step 7: Configure Terminal Settings
Adjust terminal behavior based on your integration requirements. These settings control how the terminal operates and interacts with external systems.
Navigate to the Terminal tab to configure:
- Integrated mode (enable if needed)
- EPOS PIN
- Printer settings
- Receipt information
- Password-protected menu
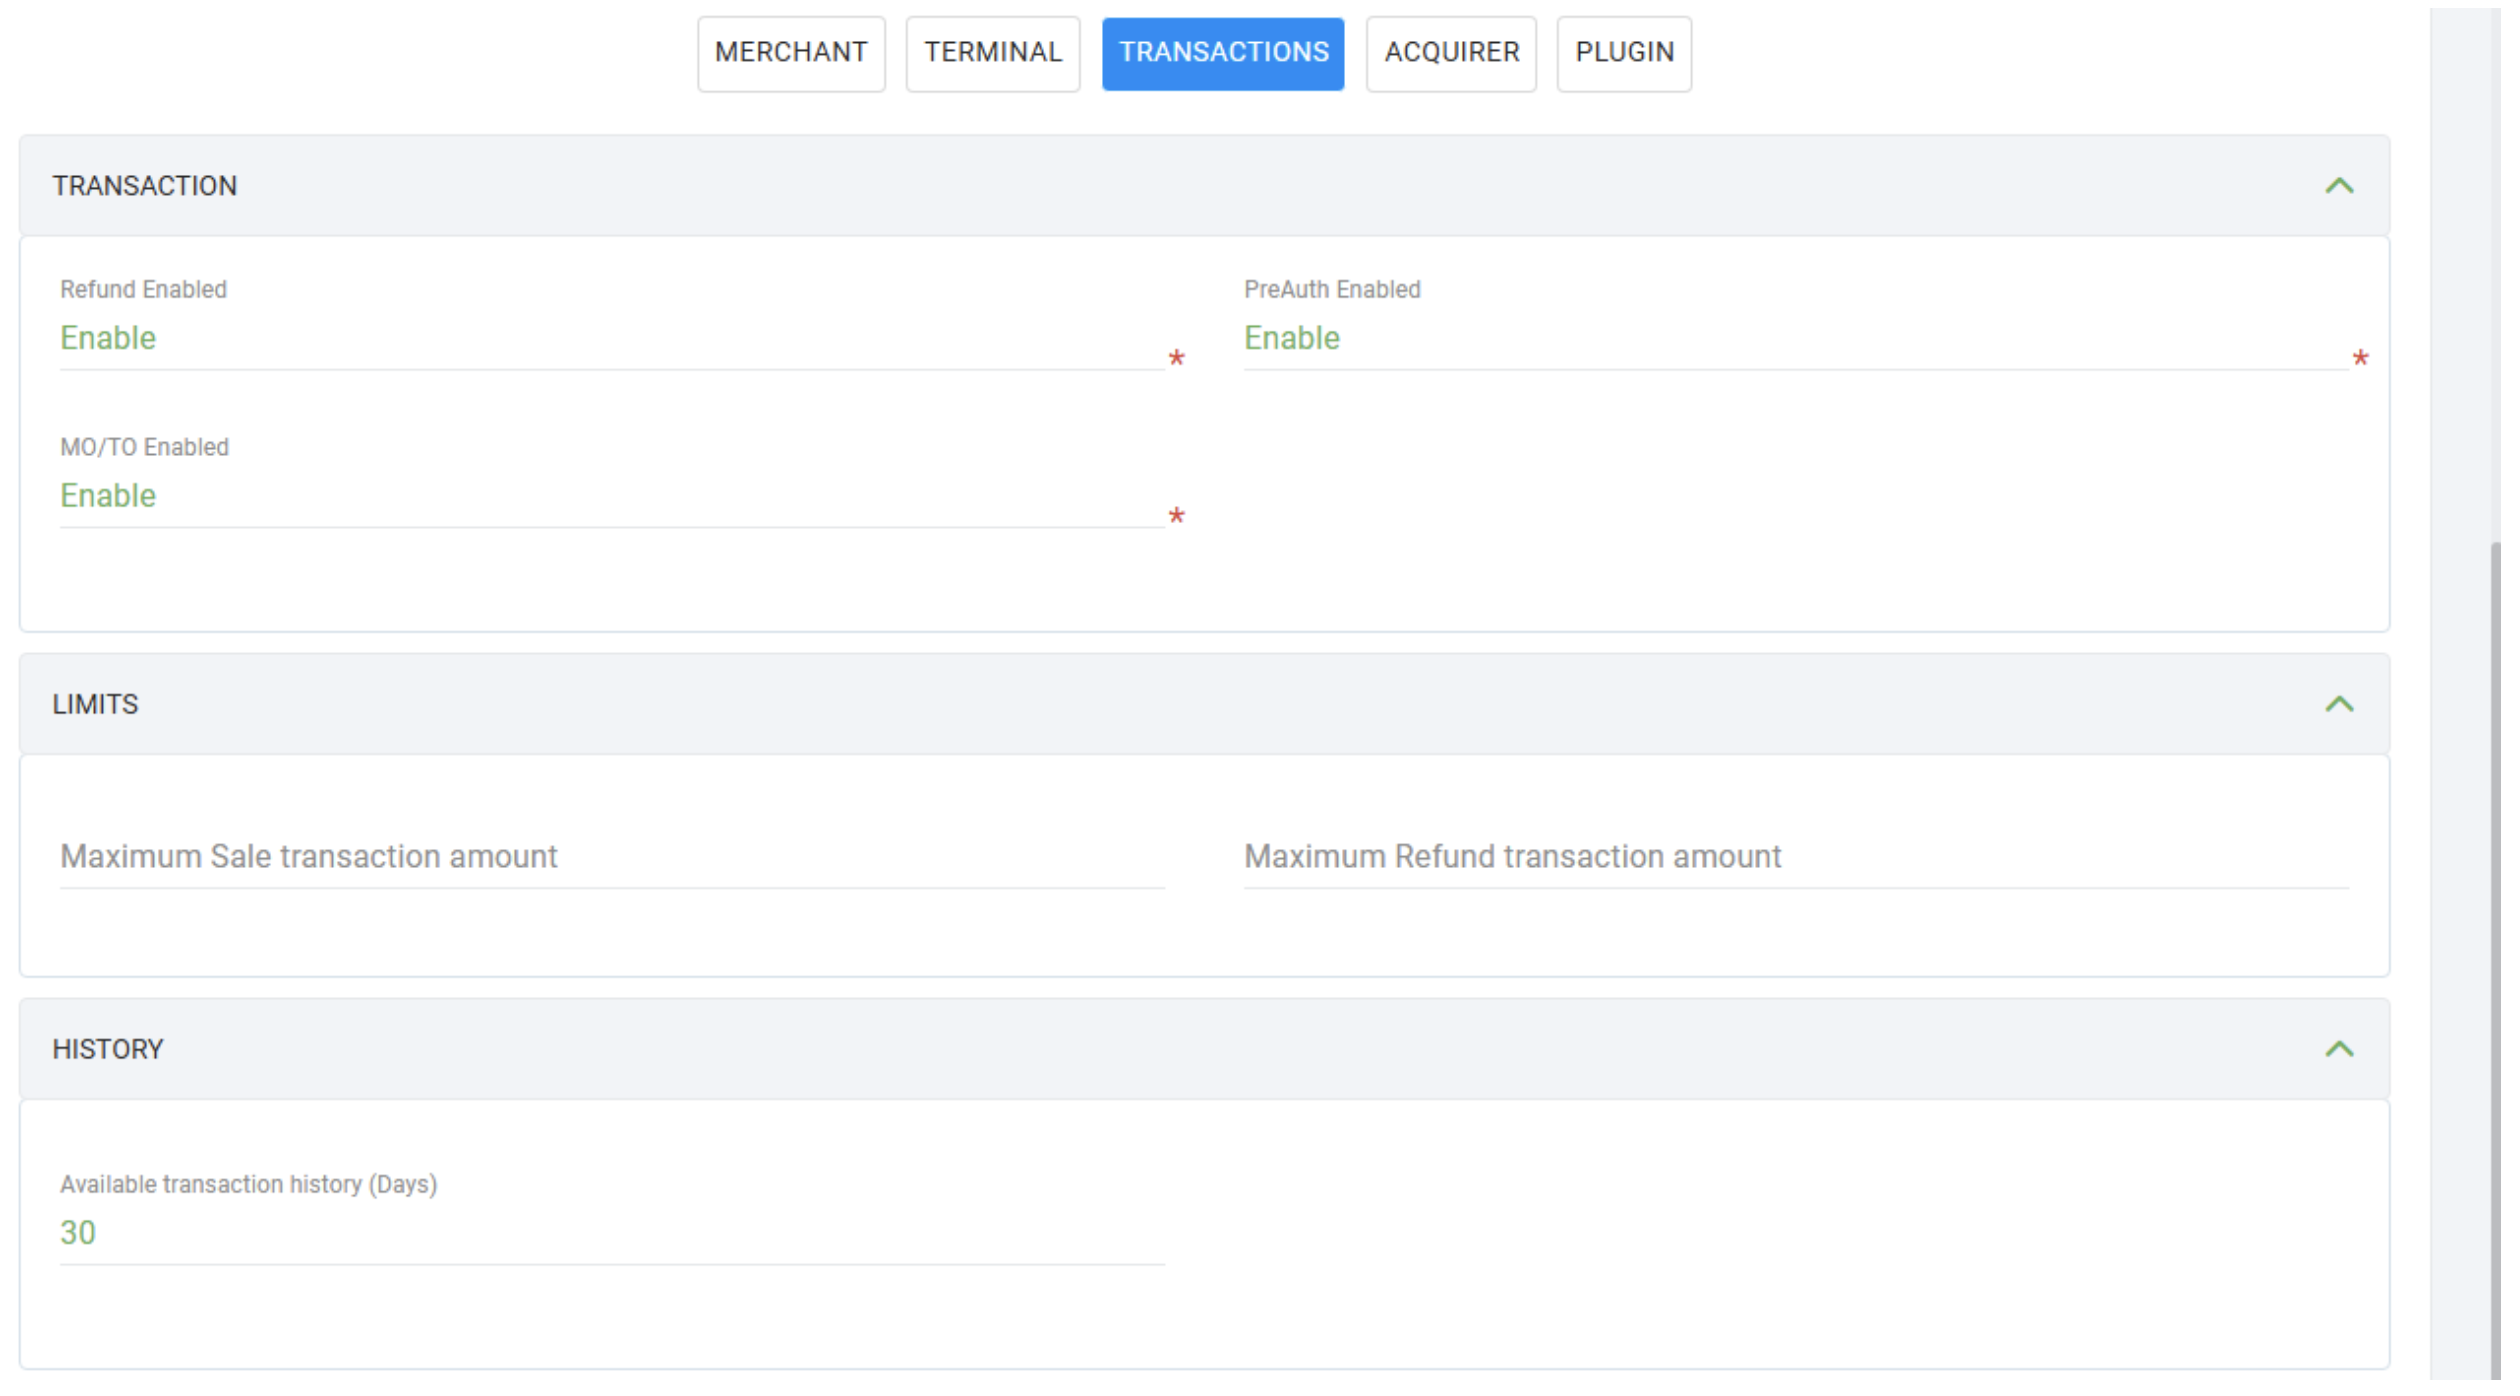
Step 8: Configure Transaction Settings
Define which transaction types are enabled and set amount limits. Use these settings to restrict functionality based on your business needs.
Navigate to the Transactions tab to configure:
- Disable refunds, preauth, or MO/TO (if needed)
- Transaction amount limits
Step 9: Configure Acquirer Settings
Set the host addresses to connect your terminal to the payment processor. Use the production hosts for live transactions or sandbox hosts for testing.
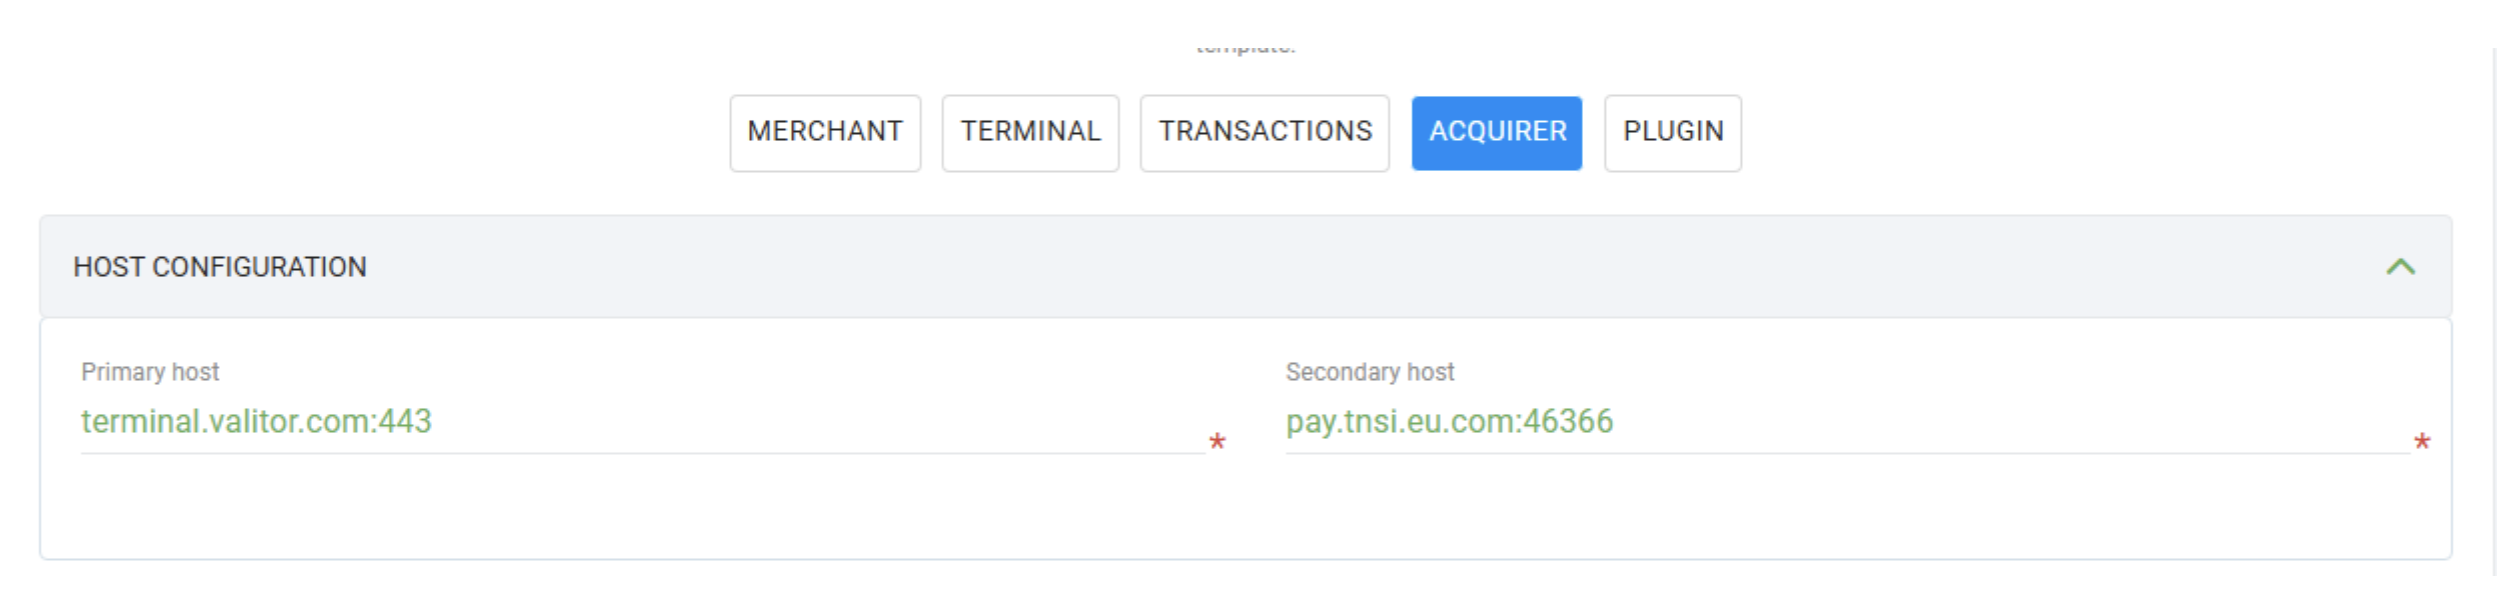
Navigate to the Acquirer tab and set the host addresses based on your environment:
Production (Live):
| Field | Value |
|---|---|
| Primary Host | terminal.valitor.com:443 |
| Secondary Host | pay.tnsi.eu.com:46366 |
Test Mode (Sandbox):
| Field | Value |
|---|---|
| Primary Host | terminal.test.valitor.com:4434 |
| Secondary Host | terminal.test.valitor.com:444 |
Step 10: Configure Tipping (Optional)
Enable tipping if your business accepts gratuities. This adds a tip prompt during the payment flow.
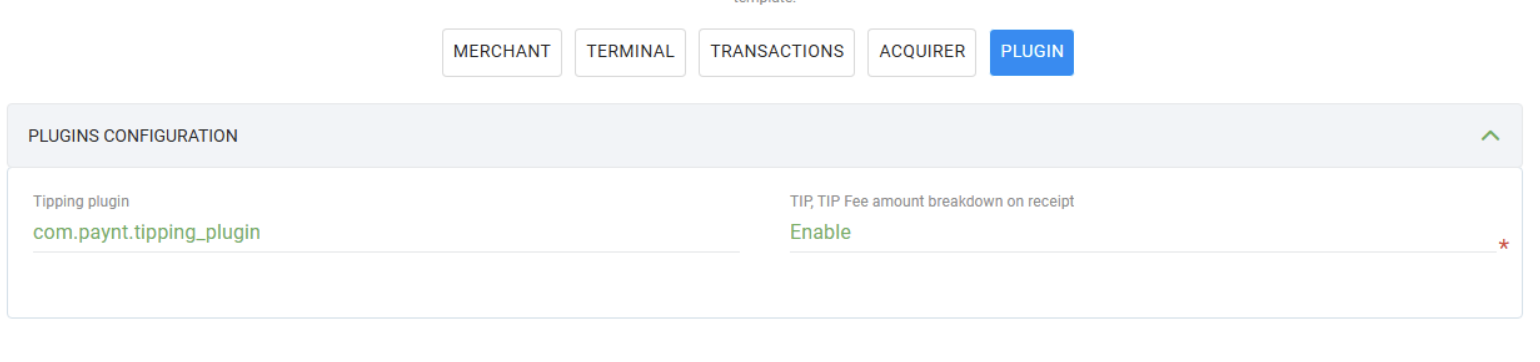
- Navigate to the Plugin tab.
- Enable TIP.
- In the tipping plugin field, enter:
com.paynt.tipping_plugin
Tipping can be enabled only if the merchant has signed a URocked addendum with Paynt. For more information. please contact your account manager or sales person.
Step 11: Start the Installation
Finalize the setup and deploy the configuration to your terminal. The terminal must be powered on and connected to the internet.
- Click Next in the bottom right corner.
- Click Activate.
The app installation will begin immediately if the terminal is connected and has an internet connection.